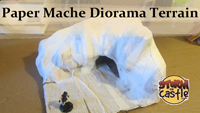
 Part 1: Make diorama terrain with paper mache Part 1: Make diorama terrain with paper mache
It is a great way to make good looking terrain on a diorama, railroad or landscape. And it's easy. Make Diorama terrain with paper mache
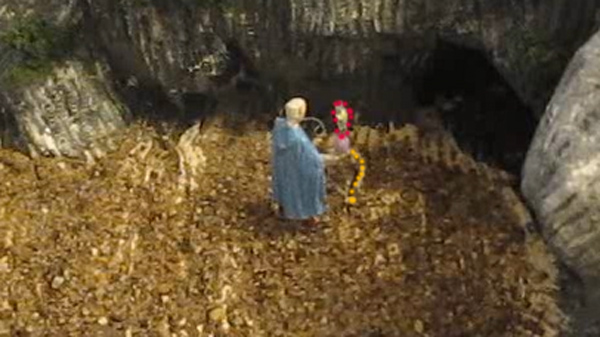
Here is the complete diorama we make in this tutorial.
 ' '
An overview of what we do
- Paint base colors on the landscape
- Do some detail painting
- Add terrain features like grass, bushes, sand and water
- Add the final details like the little adventurer
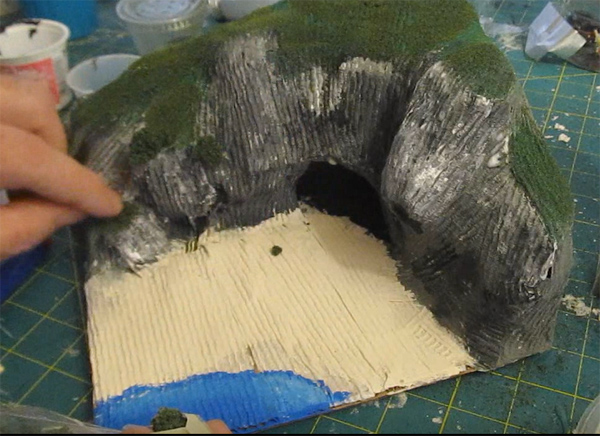
1. Painting the base colors
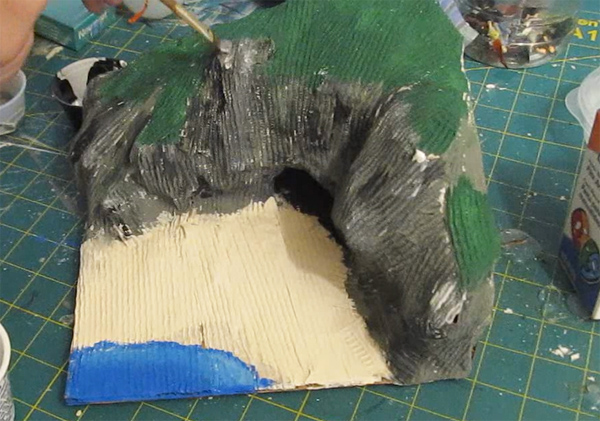
Paint the whole diorama with basic colors. We want the colors to be earthy so add a little bit of grey to them. If we use simply primary colors it makes the terrain a bit too bright and plastic. Toning down the colors makes it look more realistic.
Consider the various terrain features you want. For this diorama it is pretty clear there are grassy sections, stone sections, a sandy beach section and a water section. Oh and inside the cave is black! 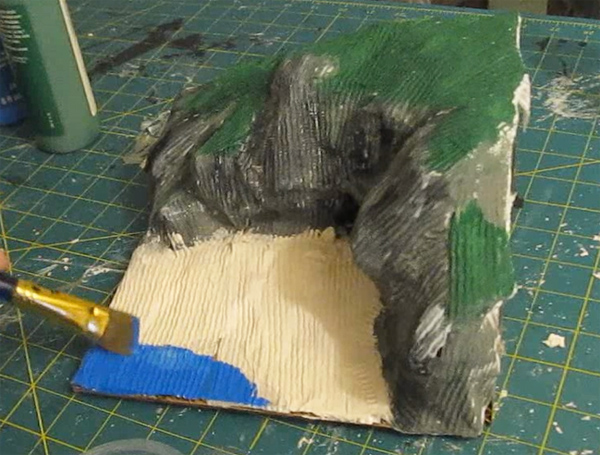
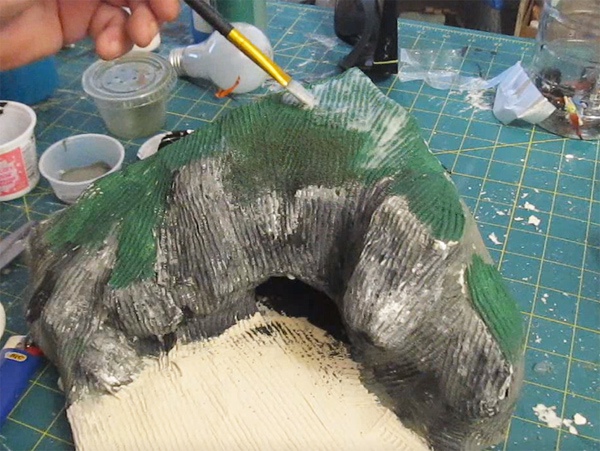
2. Detail painting
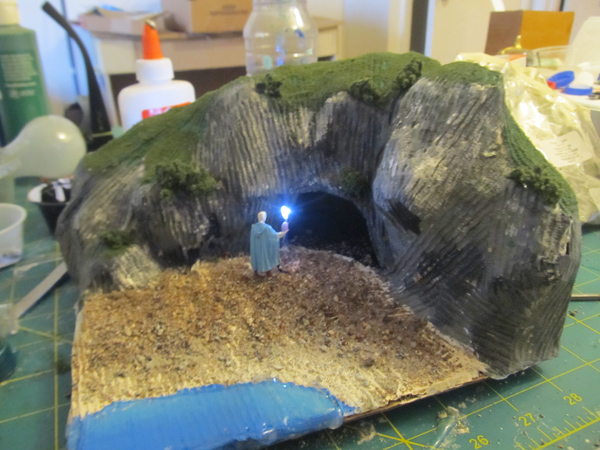
Break up those large areas of solid color with variations of the same color. Adding a little white, black or gray to the color then paint areas. This creates a more natural look You can see this in the green of the grass and in the various grays and blacks on the stone work.
Also do some detail painting. I did dark and light highlighting on the rocks.
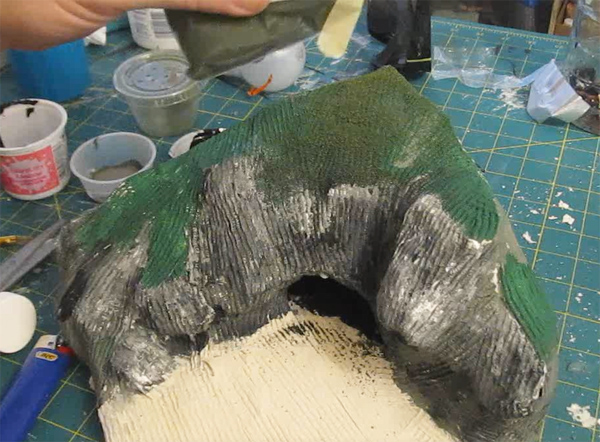
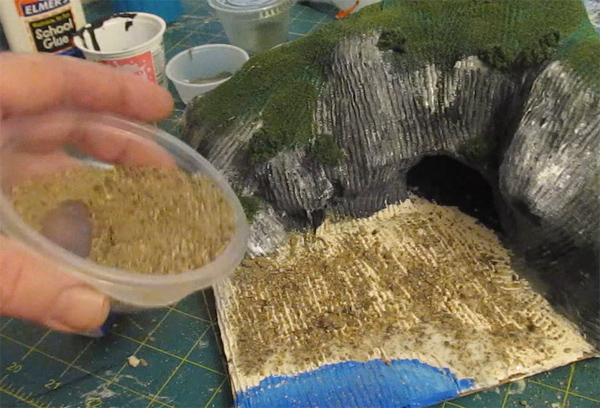
3. Add Terrain Textures like grass and bushes
First we start with grass.
Mix white glue 50/50 with water and brush it onto the grassy (green) areas of your diorama.
Then sprinkle on some terrain textures.
I am using woodland scenics terrain textures. But you can make these textures by mixing sawdust with food coloring. And... just like we varied the green coloring you should vary the texture colors too. This will make a more realistic looking dioramas.
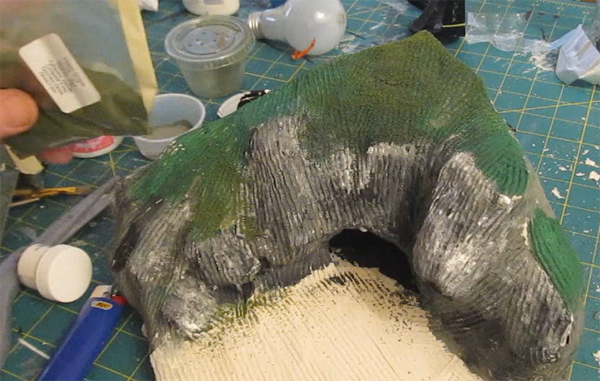
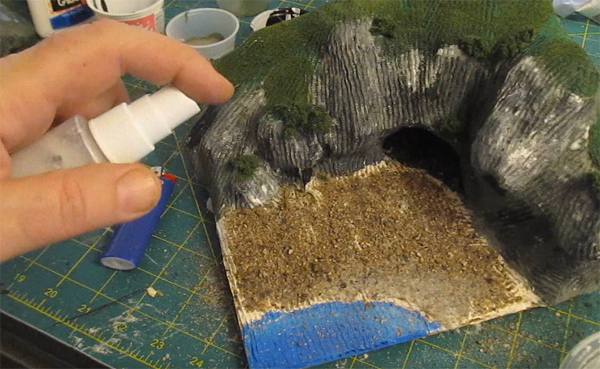
Next add bushes and small shrubbery by adding thicker terrain textures. You can tear up green sponges and pot scrubbers for this. First apply a dab of glue.
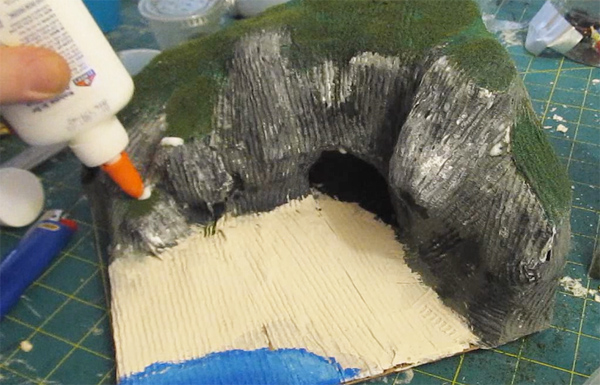
Then apply the bushes and shrubbery.
Another terrain detail I did was to glue actual sand to the sandy part of the diorama. This sand is a little bit dark so once it dried I painted parts of it with the off white color that is the underbase.
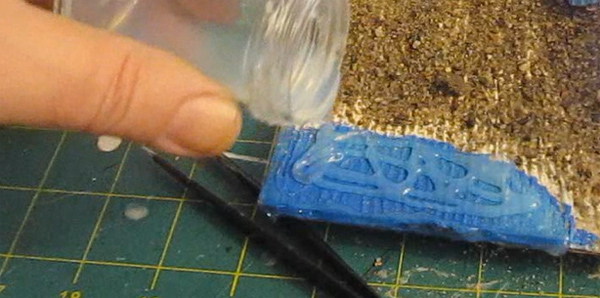
And I added some water effects to the portion of water. This is a product called Realistic Water made by woodland scenics. You pour it on, let it level out then let it dry. It will dry hard and clear. You can use white glue instead. Pour it on in a thin coat and let it dry.
The terrain features like grass, shrubs and sand are glued down but they might shake loose over time. A great way to prevent this is to mix water and glue 50/50 and put it in a spray bottle. Then liberally spray the whole surface of the diorama.
And that's it. The only thing remaining is to add our little adventurer!
I cut this miniature figure off it's base and glued it to the diorama surface.
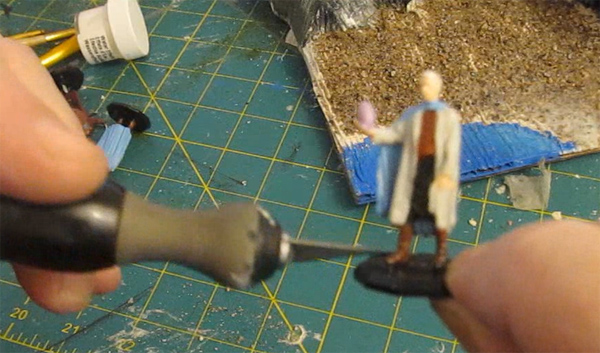
Then I added a little battery operated LED light. I cut a hole in the base of the diorama and ran the light up through it and glued it to the figure's hand. I have touched up this photo so you can see it better. Orange is the wire and red is the LED bulb.
Here are the LED lights that I purchased from Amazon.com for this project:
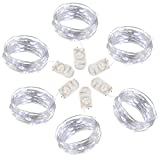 LED Lights LED Lights
This packet of LED's is a terrific bargain. I have used them for many projects. You get six strings of LED's with lots of lights on each string. And the strings are all 7 feet in length. And... it comes already loaded with the batteries and on/off switch. These are literally ready to go.
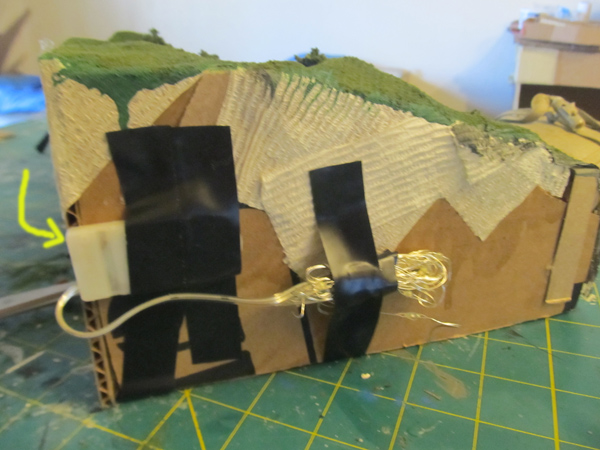
I bundled up the excess wire and taped it all to the back of the diorama. The yellow arrow shows the on/off switch.
And that's it. Our diorama is done!
MORE PROJECTS YOU MIGHT LIKE
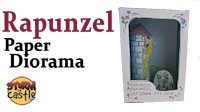
Make a Rapunzel Paper Diorama (Tatebanko)
Here is an easy scene from the Grimm fairy tale Rapunzel that you can make. I give you everything in the template. You print it up and put it together. Make a Rapunzel Paper Diorama
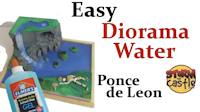
New: Make Diorama Water with Elmer's Glue Gel -
No more concerns about getting specialized materials to make terrific water effects in a diorama. I use two Elmer's products to make a River, a Waterfall, a babbling stream and a lake. The diorama I make is Ponce de Leon and the Fountain of Youth.
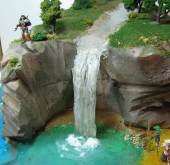
A Waterfall in a diorama
Actually pretty easy to make a great looking waterfall if you know the right tools and techniques. I have it right here: Make a waterfall in a diorama
|