Military Models and Dioramas Banner

Home

Home

Youtube graphic
I have a youtube channel with over 700 Videos!


Become a Patron

Wills Pinterest !


Tutorials

Time periods

Fast Tutorials

Dioramas by Web Visitors

Buy Stuff

Plastic Models

Tools/Supplies


Will
Hi, Thanks for visiting my website. My name is Will and if you have questions
or would like to
contribute projects or ideas you can contact me Will

Prowling Diorama - Painting and Weathering a Tank

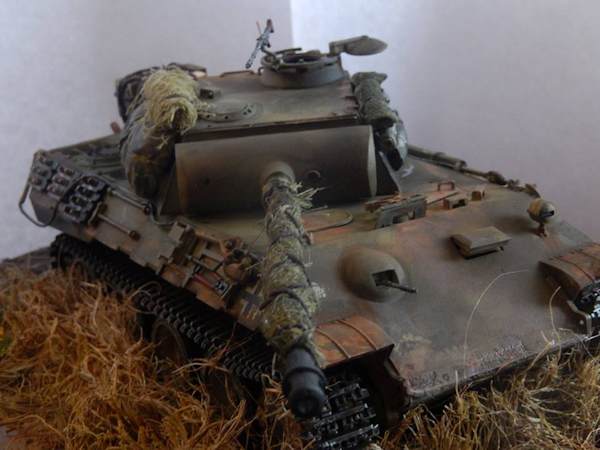
This diorama depicts a German Panther tank prowling around in tall grass. In this tutorial Steve shows us some fantastic techniques for weathering, painting and detailing a military model - including a neat technique called "salting".

Steve has lots more dioramas on my website. You can check them all out here: Steve's Dioramas


The Panther Tank


The model tank with a background


Prior to priming, the exhaust pipes were drilled out a bit to give depth to the inside of the pipes and the left fender was trimmed thinner and then carefully heated over a candle and when soft but not melting was gently bent back to show a bent fender.

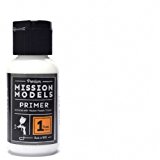
Vehicle was primed using Mission Model white primer. Wheels were primed on the sprue and then the black outer ring painted while still on the sprue.


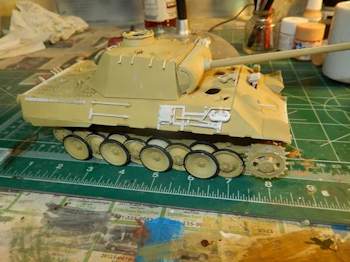
Base coat on the tank

Base coat is Tamiya dark yellow which was standard color for German vehichles.


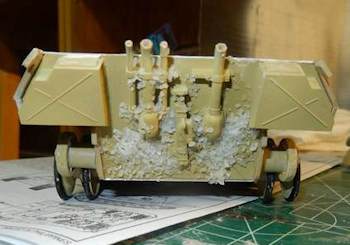
Salt applied to the tank

The salt crystals is a technique called salting. After the base coat has dried, water is added to certain areas and salt added. Allow to dry thoroughly. The left side of the turret and frame were also salted. When dry add another coat(s) to the vehicle. I used a standard three color pattern of dark green, dark red brown, and of course the dark yellow.


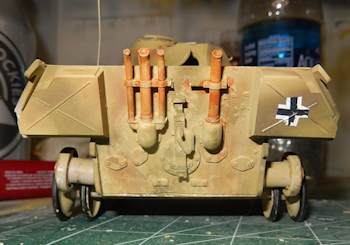
The salt effect is complete

When satisfied with the overall painting of the vehicle and it is dry, gently brush off the salt and you will have a mottled pattern that shows the original base coat like the overcoat(s) have worn off. You can see that on the turret.


The wheels

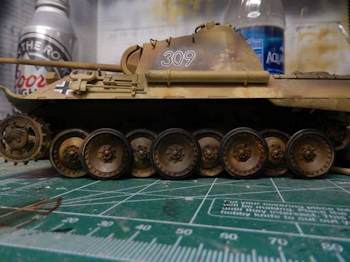
The wheels were then assembled and added to the vehicle. Once the glue had set the wheel well area was weathered with a mix of just standard black/water wash, a rust/water wash. The bolts and hub assemble were lightly drybrushed with a metallic color to highlight them and then another wash of dark and rust applied.


The track

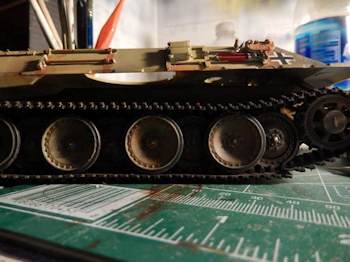
The tracks were first air brushed with a diluted mix of metal color (the tracks are already a ‘metal' color') and when dried were washed with a rust wash. When that is completely dry a light drybrush on the outside of tracks with the metallic color. When that is dry, the teeth of the tracks are individually lightly drybrushed.
Finally, when attaching the tracks they are glued down to the wheels to indicated the weight of the tracks. If left alone they just run front to back in an unnatural straight line.


The weathering

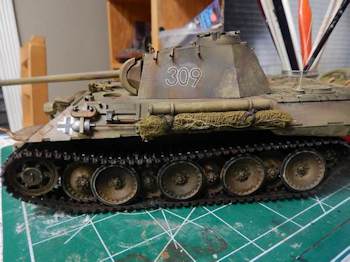
The weathering is basically various colored washes, various colored drybrushing and the light application of rust colored artists chalk. Experimentation is your best bet to find the techniques that agree with your own style.


The stowage details

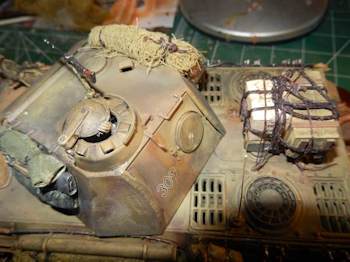
Various stowage is gauze bandage wrapped around the barrel using leather cord, the bags are a mix of guaze, papertowel and miscellaneous items from my junk drawer.


The Diorama Base

The base is a standard pine plaque sealed with minwax.
Once dry, a mix of spackle, very fine gravel and base color of brown is applied to the base (the edges of the base are protected by painters paint) and then various lengths of basic hemp rope are stuck down into the wet spackle. There is no need to hurry with this.
When satisfied, since the track on the vehicle is immobile, I used the vehicle to create a ‘path' through the high grass.


The detailed grass

Finally, once the base is dry, the high grass was airbrushed with some various shades of green and yellow and light brown. Some very small color flowers were added scattered. When the paint in the grass is dry, the painters tape is removed and the vehicle was then glued into place.


The tow cables are the heads from the vehicle kit, slightly opened up at the cable end for a female fitting and then the same Tandy leather string (it's wrapped, looks coiled) was glued into both ends.
When dried, then washed with a glue mix and positioned on the vehicle until mostly dry and mostly stiff.
Removed, and damage to vehicle covered with weathering and the new tow cable was treated like the tracks but primed first. After the primer dried, then hand brushed with metallic color, when dried washed with rust, and then the cable heads detailed.
Then reattached to the vehicle.


Various details on the tank


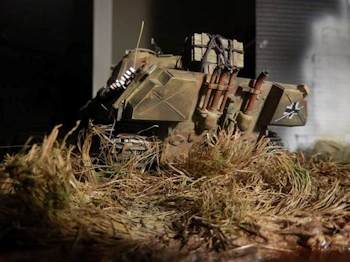
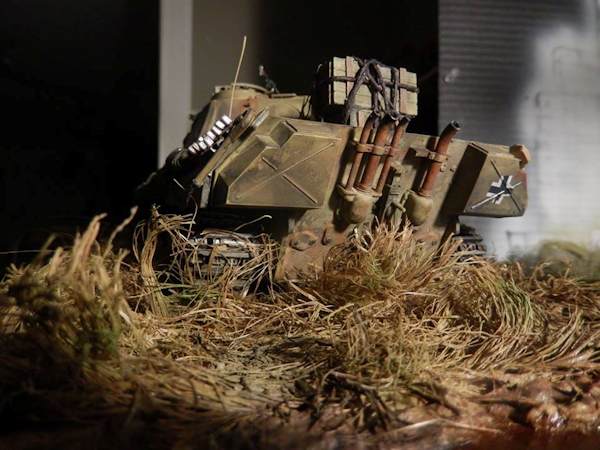
Tank viewed through the tall grass


Top view of the tank


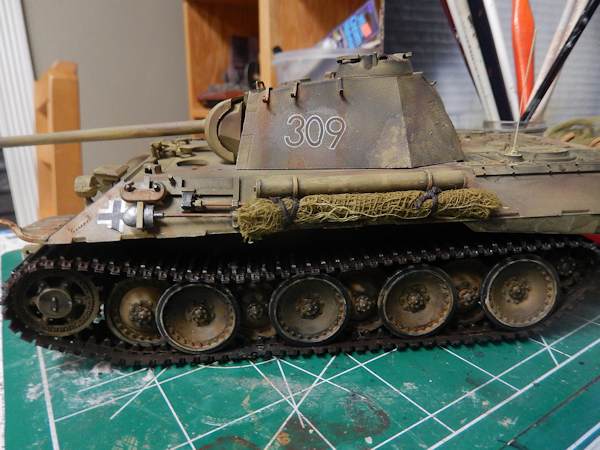
Side view of the tank


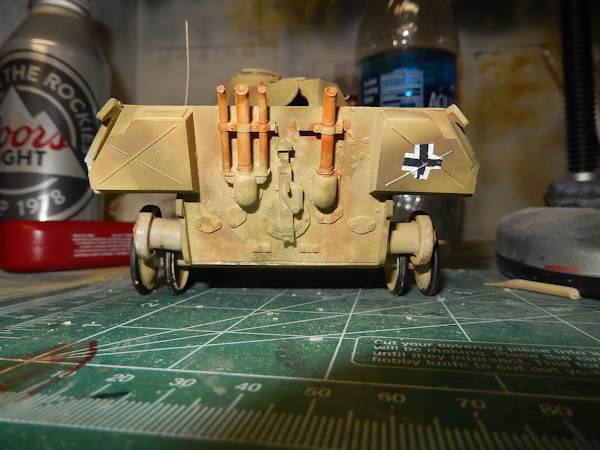
The back of the tank


RESOURCES and PRODUCTS


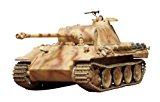
Tamiya Models German Pzkfw V Panther Ausf A Model Kit

The Panther tank was ordered in 1942 as a counter to the Russian T-34 tank. The Panther entered service in mid 1943 until the end of World War II. A total of 6,000 Panthers were produced during World War II.

  • Kit includes one-piece vinyl tracks
  • This kit is 7.7 Inch long
  • 1/35 Scale Armor


Mission Models Premium Hobby Paints - White Primer (1oz bottle)

Mission Models Primers are the Finest and most durable primers available. MMP Primers must be thinned with Mission Models Thinner only no exceptions and no substitutions. Example Mix Ratio 10 drops primer + 3-4 drops Thinner Airbrush at 10-15psi


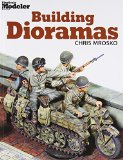
Book Cover

Building Dioramas

Acclaimed modeler Chris Mrosko explains how to build dioramas that showcase models and create dramatic scenes, as well as offering expert modeling tips. Focusing on a step-by-step, how-to approach, modelers will learn the fundamentals of construction and design, airbrushing and finishing tips, how to cast pieces out of resin, and more. The ideal reference for modelers who want to expand their skills and do more with their models. A variety of step-by-step projects that range from Saving Private Ryan to modern global conflicts. Modelers will learn how to create wedgie dioramas to showcase figures.